
Car detailing transforms your vehicle from ordinary to extraordinary. This comprehensive process goes far beyond a simple wash and wax. It involves deep cleaning, restoration, and protection of every surface inside and outside your car.
Most car owners think detailing requires expensive professional services. The truth is, you can achieve professional-level results at home with the right knowledge and tools. This guide will teach you everything you need to know about car detailing from start to finish.
What Is Car Detailing and Why Does It Matter?
Car detailing is a thorough cleaning and restoration process that brings your vehicle back to showroom condition. Unlike regular car washing, detailing focuses on every inch of your car, from the paint and wheels to the interior surfaces and engine bay.
The process involves multiple steps that work together to clean, restore, and protect your vehicle. Professional detailers spend hours on each car, but you can learn these same techniques at home.
Why Car Detailing Is Important:
- Protects your car’s paint from UV damage and environmental contaminants
- Maintains your vehicle’s resale value
- Creates a healthier interior environment by removing bacteria and allergens
- Enhances your driving experience with a clean, fresh-smelling cabin
- Prevents long-term damage that costs thousands to repair
My name is Sharmin, and I’ve been professionally detailing cars for five years. During this time, I’ve worked on everything from daily drivers to luxury vehicles worth hundreds of thousands of dollars. What started as a weekend hobby became my passion when I realized how much satisfaction comes from transforming a neglected car into something beautiful again. Through countless hours of hands-on experience, I’ve learned which products work best, which techniques save time, and most importantly, which mistakes to avoid. Every car tells a story, and I’ve helped restore hundreds of them to their former glory.
Essential Car Detailing Tools and Supplies
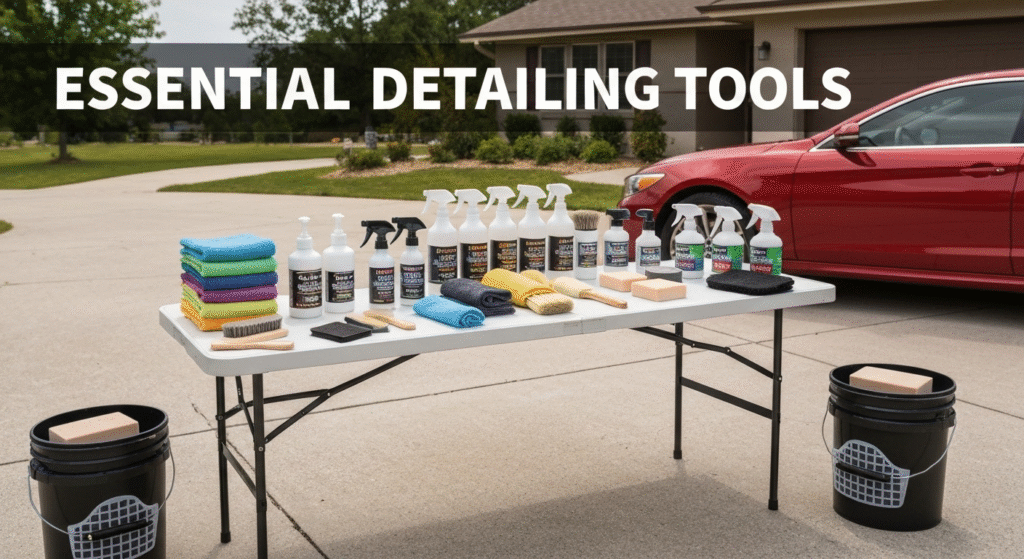
Success in car detailing starts with having the right tools. You don’t need to spend thousands of dollars, but investing in quality basics will make a huge difference in your results.
Basic Tool Categories
Washing Equipment:
- Two buckets (one for soapy water, one for rinsing)
- Microfiber wash mitts (at least 3-4)
- Grit guards for both buckets
- Quality car soap (avoid dish soap)
- Pressure washer or hose with adjustable nozzle
Drying and Detailing:
- Chamois or waffle-weave drying towels
- Various microfiber towels for different tasks
- Detailing brushes in different sizes
- Clay bar and clay lubricant
- Applicator pads for waxes and sealants
Protection Products:
- Car wax or paint sealant
- Tire shine product
- Interior protectant
- Glass cleaner
- All-purpose cleaner
| Tool Category | Budget Option | Mid-Range | Premium |
|---|---|---|---|
| Wash Mitts | $15-25 | $30-50 | $60+ |
| Microfiber Towels | $20-30 | $40-60 | $80+ |
| Car Soap | $10-15 | $20-30 | $35+ |
| Pressure Washer | $100-150 | $200-300 | $400+ |
The key is starting with basics and upgrading as you gain experience. I recommend beginners invest in good microfiber towels and quality car soap first. These two items have the biggest impact on your results.
Step-by-Step Car Detailing Process

Pre-Cleaning Assessment
Before you start, examine your car carefully. Look for scratches, stains, and areas that need special attention. Take photos if needed. This assessment helps you plan your approach and set realistic expectations.
Check for these common issues:
- Scratches in the paint
- Water spots on windows
- Stains on upholstery
- Oxidation on trim pieces
- Brake dust on wheels
Exterior Detailing Process
Step 1: Initial Rinse
Start by rinsing your car thoroughly with water. This removes loose dirt and debris that could scratch your paint during washing. Use a pressure washer if available, but a regular hose works fine.
Pay special attention to the wheel wells and undercarriage. These areas collect the most dirt and salt, especially during winter months.
Step 2: Wheel and Tire Cleaning
Always clean wheels first. They’re the dirtiest part of your car, and you don’t want to contaminate your wash water with brake dust and road grime.
Use a dedicated wheel cleaner and let it dwell according to the product instructions. Most wheel cleaners need 2-3 minutes to break down brake dust effectively.
Clean wheels one at a time using a wheel brush. Work from top to bottom, getting into all the spokes and crevices. Rinse thoroughly before moving to the next wheel.
Step 3: Two-Bucket Wash Method
This technique prevents cross-contamination and reduces the risk of scratching your paint. Fill one bucket with soapy water and another with clean rinse water.
Start washing from the top of the car and work your way down. The roof and upper panels are typically the cleanest, while the lower sections collect more dirt.
Proper Washing Technique:
- Dip your wash mitt in soapy water
- Wash a small section (2×2 feet)
- Rinse the mitt in clean water bucket
- Dip back in soap bucket
- Continue section by section
Step 4: Clay Bar Treatment
Clay bar removes contaminants that washing can’t eliminate. These include tree sap, industrial fallout, and embedded dirt particles that make your paint feel rough.
Spray clay lubricant on a small section and gently glide the clay bar across the surface. The clay will pick up contaminants, so knead it frequently to expose a clean surface.
This step is crucial for achieving a smooth finish that allows wax to bond properly.
Step 5: Drying
Never let your car air dry. Water spots will form and can permanently damage your paint. Use a clean, damp chamois or microfiber drying towel.
Work quickly but thoroughly. Start at the top and work down, wringing out your drying towel frequently.
Interior Detailing Process
Step 1: Remove All Items
Take everything out of your car, including floor mats, trash, personal items, and anything stored in compartments. This gives you complete access to all surfaces.
Step 2: Vacuum Thoroughly
Use a shop vacuum or high-powered car vacuum. Start with the seats, then move to carpets and floor mats. Don’t forget the cracks between seats and center consoles where crumbs and debris accumulate.
Use different attachments for different surfaces:
- Brush attachment for fabric seats
- Crevice tool for tight spaces
- Upholstery tool for carpets
Step 3: Clean All Surfaces
Use appropriate cleaners for different materials. Leather needs different products than vinyl or fabric.
Surface-Specific Cleaning:
| Surface Type | Recommended Cleaner | Special Notes |
|---|---|---|
| Leather | Dedicated leather cleaner | Follow with conditioner |
| Fabric | Upholstery cleaner | Test in hidden area first |
| Vinyl/Plastic | All-purpose cleaner | Avoid oil-based products |
| Glass | Ammonia-free glass cleaner | Use newspaper for streak-free finish |
Step 4: Protect Surfaces
Apply protectant products to prevent future damage. UV protectants prevent cracking and fading of dashboard and trim pieces.
Use products sparingly. Too much protectant attracts dirt and creates a greasy feel.
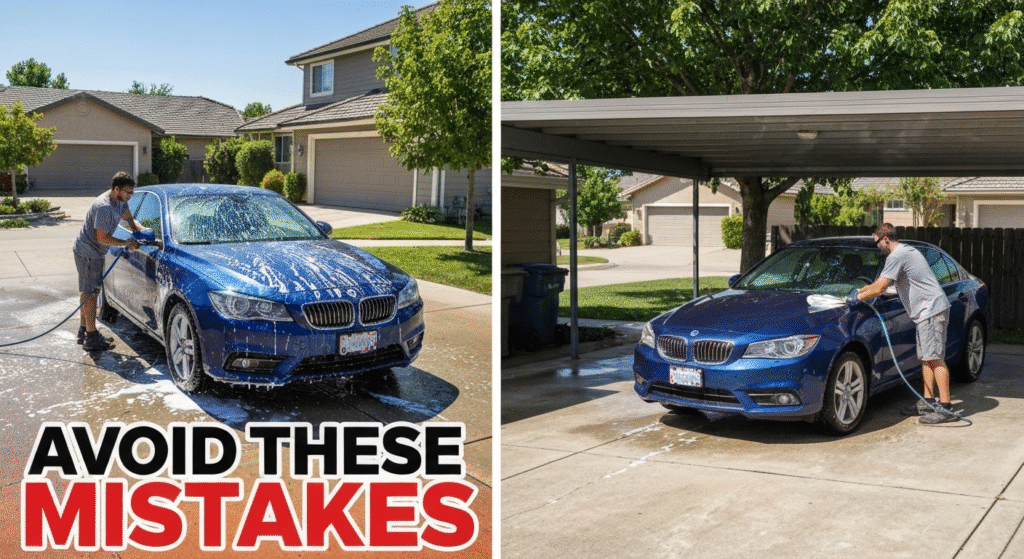
Common Mistakes to Avoid
Using the Wrong Products
Many beginners use household cleaners that can damage car surfaces. Dish soap strips protective waxes, while glass cleaners with ammonia can damage tinted windows.
Always use products specifically designed for automotive use. They’re formulated to clean effectively without causing damage.
Washing in Direct Sunlight
Hot surfaces cause soap and water to dry too quickly, leaving spots and streaks. Work in shade whenever possible, or wash early morning or late evening.
If you must work in sun, work in small sections and rinse frequently.
Neglecting Regular Maintenance
Detailing isn’t a one-time event. Regular maintenance keeps your car looking great and makes deep cleaning sessions easier.
Maintenance Schedule:
- Weekly: Basic wash
- Monthly: Interior vacuum and wipe-down
- Quarterly: Clay bar treatment
- Twice yearly: Full detail with wax application
Using Dirty Tools
Dirty towels and brushes can scratch your paint and spread contaminants. Always use clean tools and have plenty of microfiber towels on hand.
Wash your microfiber towels separately from other laundry. Fabric softener and dryer sheets reduce their effectiveness.
Advanced Techniques for Better Results
Paint Correction
Minor scratches and swirl marks can be removed using polishing compounds and the right technique. This requires more skill and specialized tools but can dramatically improve your paint’s appearance.
Start with the least aggressive method and work up if needed. Many scratches that look deep are actually just surface-level and can be polished out.
Engine Bay Detailing
A clean engine bay not only looks great but can also help you spot potential problems early. Use degreaser products and protect electrical components with plastic bags.
Never pressure wash a hot engine. Let it cool completely and avoid spraying water directly on electrical components.
Seasonal Considerations
Different seasons require different approaches. Winter detailing focuses on salt removal and protection, while summer emphasizes UV protection and cooling system maintenance.
Winter Detailing Priorities:
- Undercarriage cleaning to remove salt
- Extra protection for paint and trim
- Interior heating system cleaning
Summer Detailing Priorities:
- UV protection for all surfaces
- Air conditioning system maintenance
- Extra attention to cooling system
Professional Tips from 5 Years of Experience
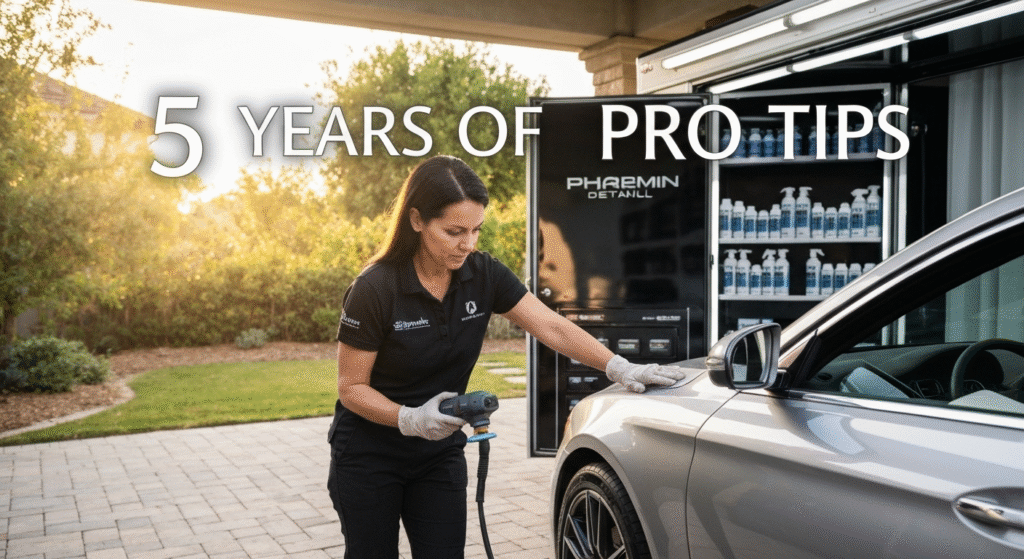
Through my years of professional detailing, I’ve learned shortcuts and techniques that make a real difference. Here are insights you won’t find in product manuals.
Working Efficiently
Time management is crucial in detailing. I always start with the dirtiest parts first and work systematically through each step. This prevents re-contaminating clean areas.
Keep your tools organized and within easy reach. I use a rolling cart with all my supplies, which saves countless steps during a detail session.
Reading Your Car’s Condition
Every car is different. A daily driver needs different treatment than a garage-kept weekend car. Learn to assess what your specific vehicle needs.
Look for these condition indicators:
- Paint that feels rough needs clay bar treatment
- Water that doesn’t bead means wax protection is gone
- Interior surfaces that attract dust need better cleaning
Product Selection Secrets
Expensive doesn’t always mean better. Some of my favorite products are mid-priced options that consistently deliver great results.
Test new products on inconspicuous areas first. What works great on one car might not work as well on another due to different paint types and conditions.
Troubleshooting Common Problems
Water Spots on Paint
These circular marks form when water dries on your paint, leaving mineral deposits. Prevention is better than cure, but existing spots can often be removed with proper technique.
For light water spots, try a 50/50 vinegar and water solution. For heavier spots, you may need polishing compound.
Swirl Marks in Paint
These fine scratches appear as spider web patterns, especially in black paint. They’re usually caused by improper washing or drying techniques.
Prevention involves using proper washing methods and clean tools. Existing swirls can be removed with polishing, but it requires patience and the right products.
Interior Stains
Act quickly on spills to prevent permanent staining. Blot, don’t rub, which can spread the stain or push it deeper into fabric.
Different stains require different treatments:
- Food and drink: Upholstery cleaner
- Grease: Degreasing agent
- Ink: Rubbing alcohol (test first)
Streaky Windows
This frustrating problem usually comes from using the wrong cleaner or technique. Ammonia-free cleaners work best, and the right towel makes a huge difference.
Use circular motions followed by straight lines. Newspaper still works better than many microfiber towels for final streak removal.
Cost-Effective DIY Solutions
Homemade Cleaning Solutions
You can make effective cleaners from common household items, though commercial products often work better.
DIY All-Purpose Cleaner:
- 1 cup water
- 1 cup white vinegar
- 1 tablespoon dish soap
- Mix in spray bottle
DIY Glass Cleaner:
- 2 cups water
- 1/2 cup white vinegar
- 1/4 cup rubbing alcohol
- 1-2 drops dish soap
Money-Saving Tips
Buy products in larger sizes when possible. Most detailing products have long shelf lives and bulk buying reduces per-use costs.
Invest in quality tools that last rather than replacing cheap ones repeatedly. Good microfiber towels, for example, can last for years with proper care.
Health and Safety Considerations
Car detailing involves chemicals and physical work that require proper precautions.
Chemical Safety
Always read product labels and use products in well-ventilated areas. Some cleaners produce fumes that can be harmful in enclosed spaces.
Wear gloves when handling strong cleaners, especially degreasers and wheel cleaners. These products can irritate skin with prolonged contact.
Physical Safety
Detailing requires bending, reaching, and repetitive motions. Take breaks to prevent fatigue and injury.
Use proper lifting techniques when moving heavy items like shop vacuums or water buckets.
Environmental Responsibility
Modern car detailing should consider environmental impact.
Water Conservation
Use waterless or rinseless wash products when possible. These reduce water usage significantly while still providing good results.
Collect and properly dispose of wash water instead of letting it run into storm drains.
Product Selection
Choose biodegradable products when available. Many modern car care products are formulated to be environmentally friendly without sacrificing effectiveness.
Properly dispose of used products and containers according to local regulations.
Frequently Asked Questions
How often should I detail my car completely?
Complete detailing every 3-6 months depending on usage and storage conditions. Cars driven daily in harsh conditions need more frequent attention than garage-kept vehicles.
Can I detail my car in cold weather?
Yes, but with modifications. Work in heated garages when possible, use products rated for cold temperatures, and allow extra drying time.
What’s the difference between wax and sealant?
Wax provides deeper shine and warmth but typically lasts 2-3 months. Sealants offer longer protection (6-12 months) but may not have the same visual depth.
Is it worth buying expensive detailing products?
Quality matters more than price. Some expensive products justify their cost with superior performance, while others are just marketing. Research and read reviews before investing in premium products.
Conclusion
Car detailing at home is both rewarding and economical. With proper knowledge, tools, and techniques, you can achieve professional-level results that keep your vehicle looking great while protecting your investment.
Start with the basics and gradually build your skills and tool collection. Remember that consistency matters more than perfection—regular maintenance prevents major problems and keeps detailing sessions manageable.
The key to successful DIY detailing is patience and attention to detail. Take your time, use proper techniques, and don’t rush through steps. Your car will reward you with years of great appearance and preserved value.
Every car deserves proper care, and now you have the knowledge to provide it. Start with your next weekend project, and enjoy the satisfaction of driving a perfectly detailed vehicle that you restored yourself.